
GB
89.6MANIA RATINGOverall profile · Excellent
MANIA RATING • EXCELLENT
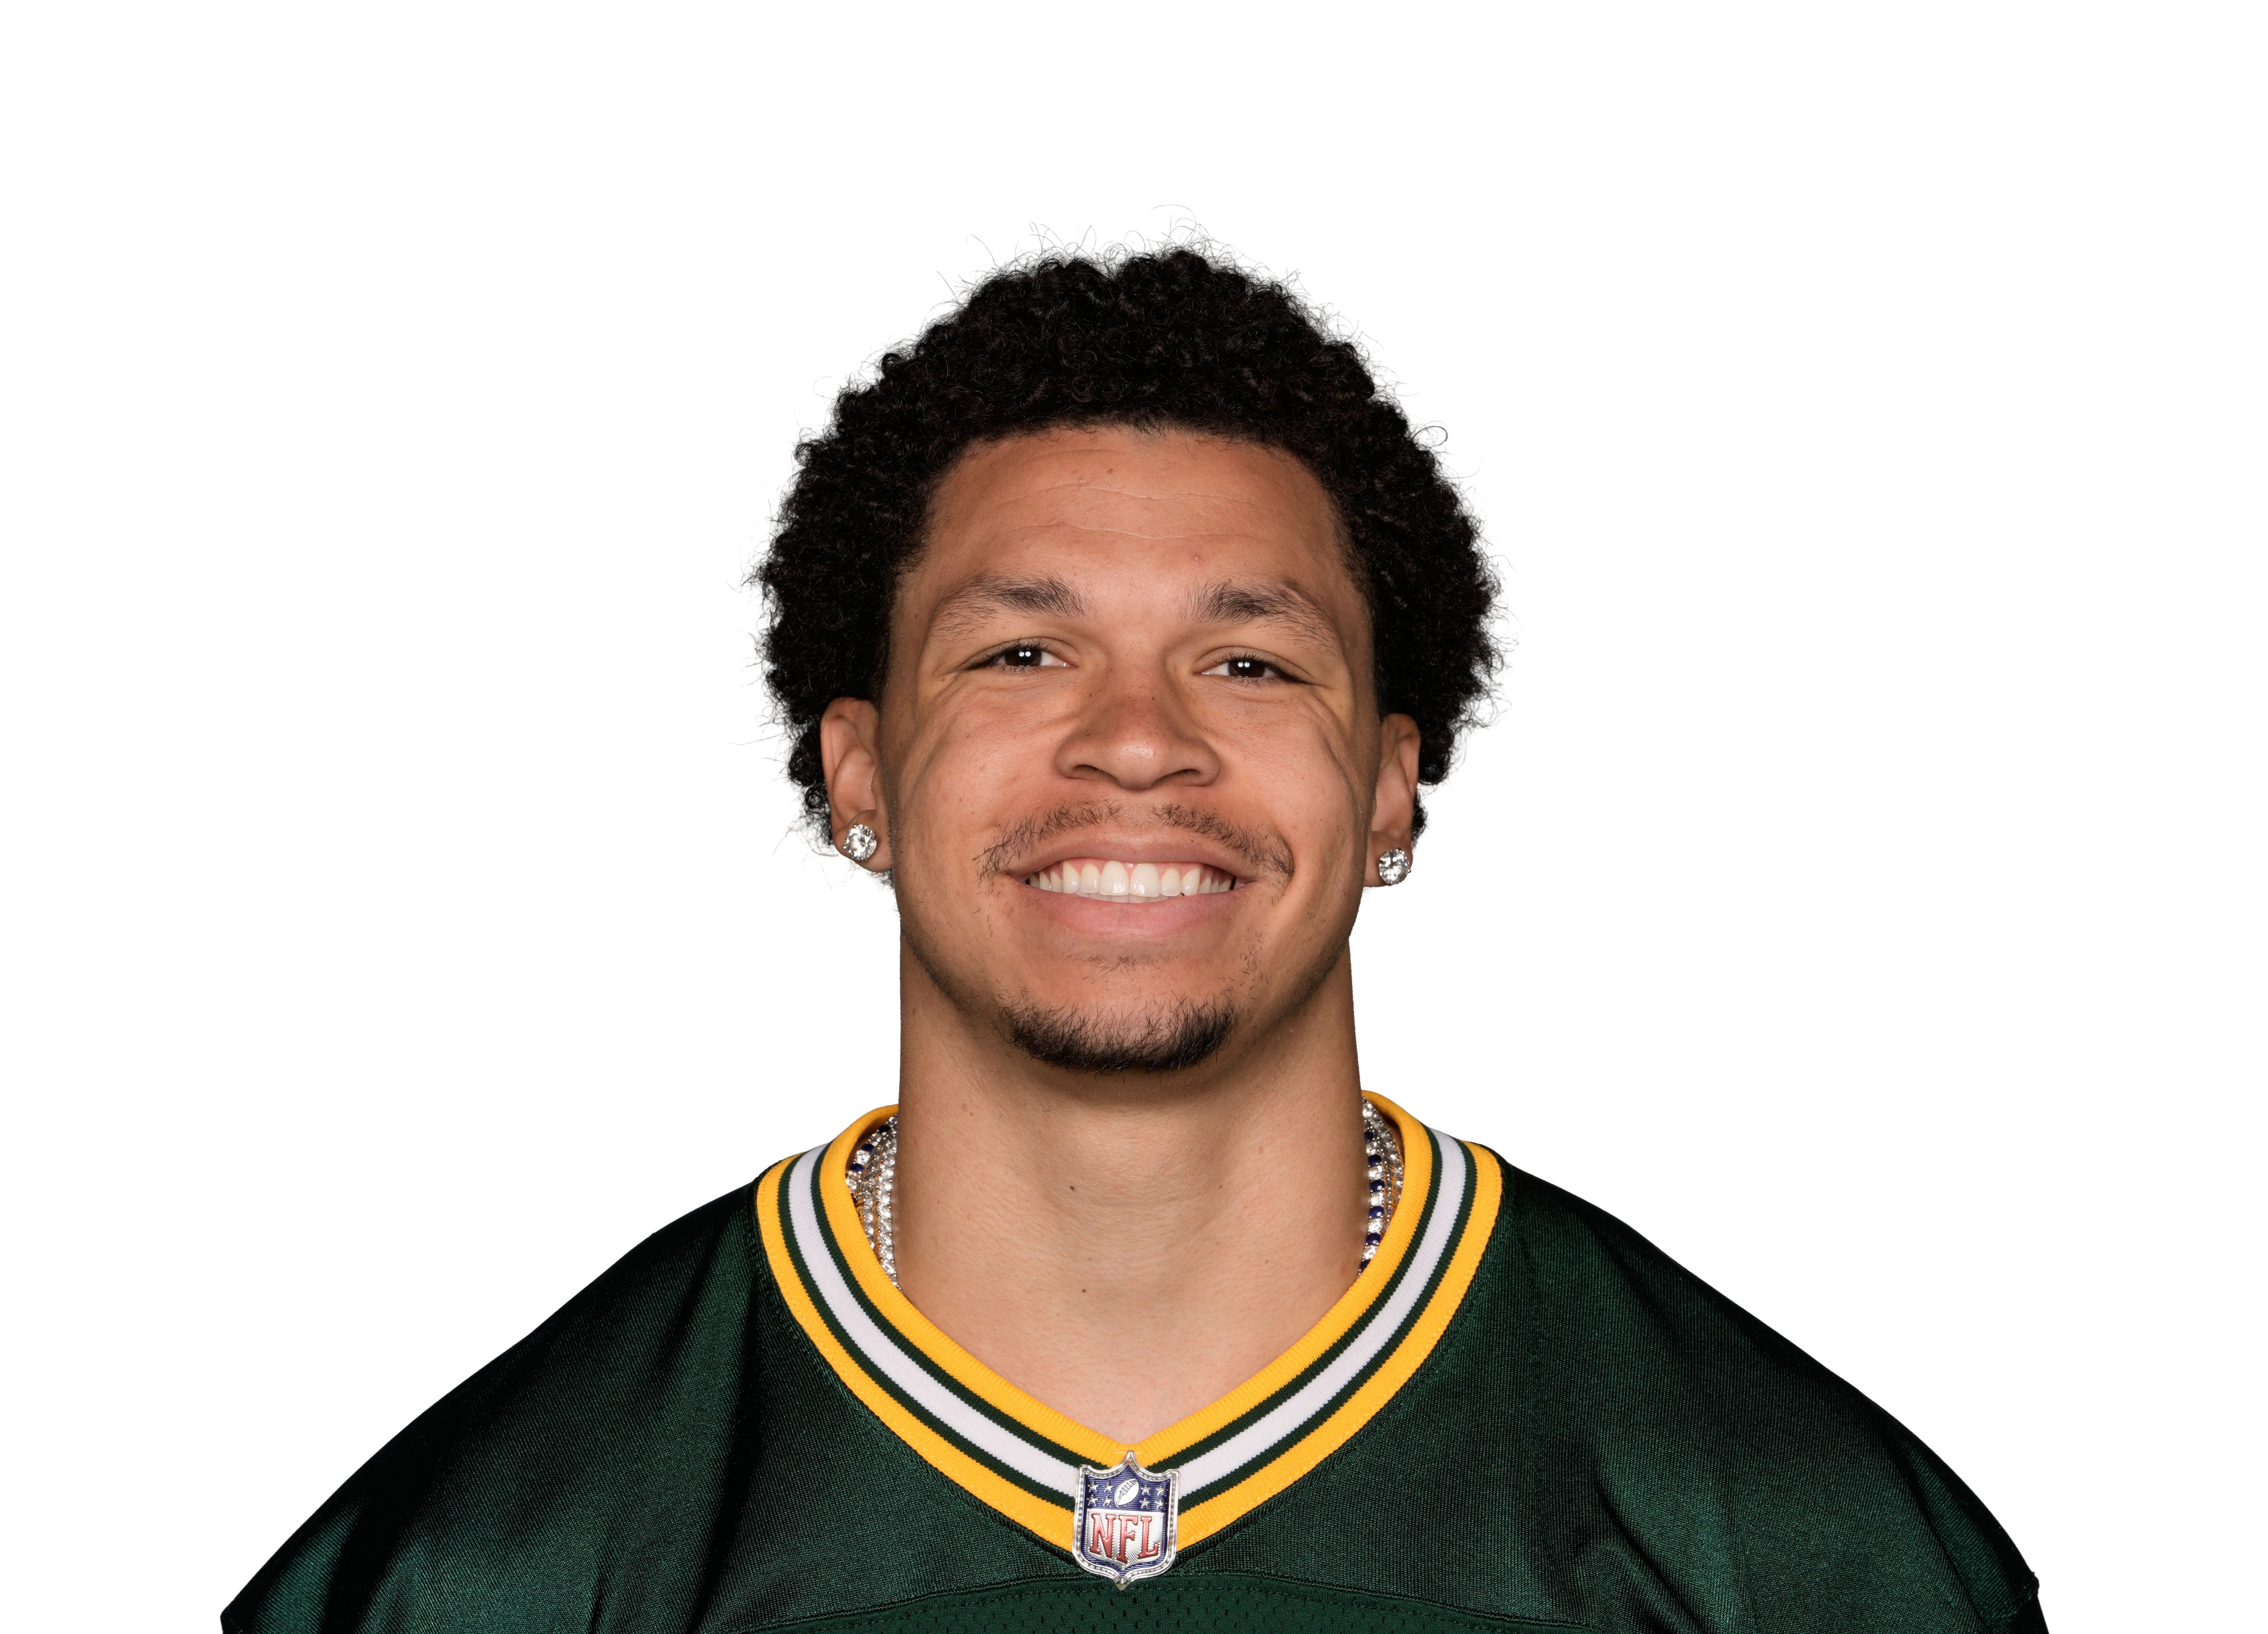
Christian Watson
#20 OverallWR11#2 WR on GBDepth WR1 ›Age 27
BYEWEEK 11 RATINGBye week
—WEEK 11 PROJECTIONPPR
23%TARGET SHARE81st percentile
77.4%SNAP SHARE74th percentile
Games counted
Untick or tick any game and Mania Rating, matchup and Week 11 Rating all recalculate. Official Mania Rating 89.6.
Mix and match games
Pick a teammate with or without. Pick more than one to combine them, like a game without the QB and without the other back.
Love QB ✓ current
Williams WR
Lloyd RB
Week 11 Rating = recent role + opponent + the latest injury report (updated Sat Nov 21, 6:30 AM ET). Check final inactives before you set your lineup.
Mania breakdown
Fantasy Production95
Target Volume86
Team Target Role80
Red-Zone Threat77
Per-Target Efficiency89
Mania breakdown
Percentile among WRs. 100 is the best, 50 is average.
How many fantasy points and total yards he is actually producing, compared with players at his position. Ranks better than 95% of WRs.
How often he is targeted: targets per game, receptions and his share of the team targets. Ranks better than 86% of WRs.
How big a slice of his team passing game belongs to him: target share, air-yard share and snaps. Ranks better than 80% of WRs.
How often the offense uses him near the goal line: red-zone targets and end-zone targets. Ranks better than 77% of WRs.
What he produces with each chance instead of just rewarding volume: yards per target, catch rate and fantasy points per opportunity. Ranks better than 89% of WRs.
Top 30%MiddleBottom 40%Tap a category to see what it means.
Week 11 matchup
Bye week
No matchup to adjust for.
Week 11 matchup
Bye week
No game this week, so there is no matchup to adjust for.
Usage
Snaps
77%
Target share
23%
Targets/G
7.9
PPR/G
18.4
By the numbers
PPR / Game
18.4
95th percentileWR avg 8.4
Targets / Game
7.9
88th percentileWR avg 4.9
Receiving Yards / Game
91.6
97th percentileWR avg 39.4
Receptions / Game
5.2
87th percentileWR avg 3
Share of Team Targets
22.5%
81st percentileWR avg 15.6%
Share of Team Air Yards
32.3%
77th percentileWR avg 22.2%
Red-Zone Targets / Game
0.7
61st percentileWR avg 0.7
End-Zone Targets / Game
1.1
97th percentileWR avg 0.4
Snap Share
77.4%
74th percentileWR avg 63.2%
TDs / Game
0.7
95th percentileWR avg 0.2
GB WR room
M. Golden28%
C. Watson23%
J. Reed18%
S. Williams9%
S. Moore6%
Share of targets
GB WR room, week by week
Targets and receiving yards each week, with his share of the team targets and his snap percentage.
| Player | W1 | W2 | W3 | W4 | W5 | W6 | W7 | W8 | W9 | W10 | Per game |
|---|---|---|---|---|---|---|---|---|---|---|---|
| Matthew Golden | 1295 yds30% targets82% snaps | 658 yds21% targets86% snaps | 12100 yds24% targets82% snaps | 721 yds23% targets88% snaps | 7123 yds23% targets77% snaps | 13104 yds33% targets84% snaps | 1239 yds29% targets85% snaps | 1379 yds33% targets86% snaps | 10164 yds37% targets74% snaps | 970 yds31% targets84% snaps | 10.185 yds a game • 8.4 per target28% targets83% snaps |
| Christian Watson | 8147 yds20% targets76% snaps | 1141 yds38% targets90% snaps | 1096 yds20% targets80% snaps | 347 yds10% targets68% snaps | 8143 yds26% targets80% snaps | 864 yds20% targets88% snaps | 857 yds19% targets81% snaps | 10113 yds26% targets49% snaps | 8171 yds30% targets77% snaps | 537 yds17% targets85% snaps | 7.992 yds a game • 11.6 per target22% targets77% snaps |
| Jayden Reed | 720 yds18% targets57% snaps | 14 yds3% targets3% snaps | — | — | — | — | — | — | — | — | 4.012 yds a game • 3.0 per target10% targets30% snaps |
| Savion Williams | — | — | — | — | — | 432 yds10% targets53% snaps | 347 yds7% targets60% snaps | 25 yds5% targets55% snaps | 425 yds15% targets48% snaps | 227 yds7% targets36% snaps | 3.027 yds a game • 9.1 per target9% targets50% snaps |
| Skyy Moore | 10 yds3% targets6% snaps | 36 yds10% targets36% snaps | 731 yds14% targets52% snaps | 2-2 yds7% targets38% snaps | 10 yds3% targets18% snaps | — | — | — | — | 00 yds0% targets0% snaps | 2.36 yds a game • 2.5 per target6% targets25% snaps |
| J. Michael Sturdivant | — | 00 yds0% targets15% snaps | 322 yds6% targets32% snaps | 10 yds3% targets3% snaps | 00 yds0% targets13% snaps | 00 yds0% targets5% snaps | 00 yds0% targets6% snaps | 116 yds3% targets42% snaps | 00 yds0% targets23% snaps | 437 yds14% targets16% snaps | 1.08 yds a game • 8.3 per target3% targets17% snaps |
| Coleman Owen | — | — | — | — | — | 00 yds0% targets0% snaps | 00 yds0% targets0% snaps | 00 yds0% targets0% snaps | 00 yds0% targets12% snaps | — | 0.00 yds a game0% targets3% snaps |
| Bo Melton | 110 yds3% targets12% snaps | 10 yds3% targets15% snaps | 10 yds2% targets32% snaps | 10 yds3% targets18% snaps | 420 yds13% targets49% snaps | 00 yds0% targets24% snaps | 24 yds5% targets19% snaps | 00 yds0% targets36% snaps | 00 yds0% targets23% snaps | 00 yds0% targets0% snaps | 1.03 yds a game • 3.4 per target3% targets23% snaps |
Each cell is targets that week, with receiving yards, share of team targets and snap percentage. Click a name to open that player.
Game log
Games10
PPR/G18.4
Game log
Watson avg 18.4NFL top 30 WRs avg 16.4
Solid dot is what he scored. Hollow dot is our projection before the game.
| Use | Game | Proj | PPR | Tgt | Rec | Rec Yd | Car | Rush Yd | TD | Snap |
|---|---|---|---|---|---|---|---|---|---|---|
W1 vs MIN | 10.5 | 32.7 | 8 | 6 | 147 | 0 | 0 | 2 | 76% | |
W2 vs NYJ | 11.8 | 14.1 | 11 | 4 | 41 | 0 | 0 | 1 | 90% | |
W3 vs ATL | 14.5 | 22.6 | 10 | 7 | 96 | 0 | 0 | 1 | 80% | |
W4 vs TB | 12.8 | 7.7 | 3 | 3 | 47 | 0 | 0 | 0 | 68% | |
W5 vs CHI | 13.0 | 32.3 | 8 | 6 | 143 | 0 | 0 | 2 | 80% | |
W6 vs DAL | 15.5 | 9.4 | 8 | 3 | 64 | 0 | 0 | 0 | 88% | |
W7 vs DET | 15.0 | 10.7 | 8 | 5 | 57 | 0 | 0 | 0 | 81% | |
W8 vs CAR | 13.9 | 17.3 | 10 | 8 | 113 | 0 | 0 | 0 | 49% | |
W9 vs NE | 12.8 | 30.1 | 8 | 7 | 171 | 0 | 0 | 1 | 77% | |
| W10vs MIN | 14.2 | 6.7 | 5 | 3 | 37 | 0 | 0 | 0 | 85% |
Opponent color:Easy defense for WRsAverageTough
Schedule ahead
11 bye12 LA13 NO14 BUF15 MIA16 CHI17 HOU18 DET
Green easier, red tougher
Schedule ahead
Colored by what each defense has given up to WRs so far. Green is an easier matchup, red is a tougher one.
Wk 11 byeWk 12 LAWk 13 NOWk 14 BUFWk 15 MIAWk 16 CHIWk 17 HOUWk 18 DETSee every team's WR schedule ›
StatPer gameSeasonRank
Overall
Games—1099›
PPR points18.4183.695›
Touchdowns0.7795›
Receiving
Targets7.97988›
Catches5.25287›
Receiving yards91.691697›
Receiving TDs—799›
Yards per target11.6—92›
Rushing
Scrimmage yards91.691697›
Usage
Snap %77%—74›
Target share %22.5%—81›
Touch share %13.8%—86›
Air yards share %32.3%111776›
Scoring chances
Red-zone targets0.7761›
End-zone targets1.11197›
Tap any stat to see everyone ranked. Bars: green top 30%, yellow middle, red bottom 40%.
Advanced stats
Ranked against 64 WRs with at least 35 targets. Ranks account for how much work each number is based on, so a perfect record on a few plays does not beat one over a full workload. Tap a stat to see the full ranking.
Fumbles lostOne
1 this season
GB

89.6
Mania Rating
Overall profile · Excellent
BYE
Week 11 Rating
Bye week
Christian Watson
#20 OverallWR11#2 WR on GBDepth WR1 ›Age 27
On bye
On bye
This weekOn bye
Games counted
Untick or tick any game and Mania Rating, matchup and Week 11 Rating all recalculate. Official Mania Rating 89.6.
Mix and match games
Pick a teammate with or without. Pick more than one to combine them, like a game without the QB and without the other back.
Love QB ✓ current
Williams WR
Lloyd RB
Week 11 Rating = recent role + opponent + the latest injury report (updated Sat Nov 21, 6:30 AM ET). Check final inactives before you set your lineup.
Week 11 matchup
Bye week
No matchup to adjust for.
Week 11 matchup
Bye week
No game this week, so there is no matchup to adjust for.
GB WR room
M. Golden28%
C. Watson23%
J. Reed18%
S. Williams9%
S. Moore6%
Share of targets
GB WR room, week by week
Targets and receiving yards each week, with his share of the team targets and his snap percentage.
| Player | W1 | W2 | W3 | W4 | W5 | W6 | W7 | W8 | W9 | W10 | Per game |
|---|---|---|---|---|---|---|---|---|---|---|---|
| Matthew Golden | 1295 yds30% targets82% snaps | 658 yds21% targets86% snaps | 12100 yds24% targets82% snaps | 721 yds23% targets88% snaps | 7123 yds23% targets77% snaps | 13104 yds33% targets84% snaps | 1239 yds29% targets85% snaps | 1379 yds33% targets86% snaps | 10164 yds37% targets74% snaps | 970 yds31% targets84% snaps | 10.185 yds a game • 8.4 per target28% targets83% snaps |
| Christian Watson | 8147 yds20% targets76% snaps | 1141 yds38% targets90% snaps | 1096 yds20% targets80% snaps | 347 yds10% targets68% snaps | 8143 yds26% targets80% snaps | 864 yds20% targets88% snaps | 857 yds19% targets81% snaps | 10113 yds26% targets49% snaps | 8171 yds30% targets77% snaps | 537 yds17% targets85% snaps | 7.992 yds a game • 11.6 per target22% targets77% snaps |
| Jayden Reed | 720 yds18% targets57% snaps | 14 yds3% targets3% snaps | — | — | — | — | — | — | — | — | 4.012 yds a game • 3.0 per target10% targets30% snaps |
| Savion Williams | — | — | — | — | — | 432 yds10% targets53% snaps | 347 yds7% targets60% snaps | 25 yds5% targets55% snaps | 425 yds15% targets48% snaps | 227 yds7% targets36% snaps | 3.027 yds a game • 9.1 per target9% targets50% snaps |
| Skyy Moore | 10 yds3% targets6% snaps | 36 yds10% targets36% snaps | 731 yds14% targets52% snaps | 2-2 yds7% targets38% snaps | 10 yds3% targets18% snaps | — | — | — | — | 00 yds0% targets0% snaps | 2.36 yds a game • 2.5 per target6% targets25% snaps |
| J. Michael Sturdivant | — | 00 yds0% targets15% snaps | 322 yds6% targets32% snaps | 10 yds3% targets3% snaps | 00 yds0% targets13% snaps | 00 yds0% targets5% snaps | 00 yds0% targets6% snaps | 116 yds3% targets42% snaps | 00 yds0% targets23% snaps | 437 yds14% targets16% snaps | 1.08 yds a game • 8.3 per target3% targets17% snaps |
| Coleman Owen | — | — | — | — | — | 00 yds0% targets0% snaps | 00 yds0% targets0% snaps | 00 yds0% targets0% snaps | 00 yds0% targets12% snaps | — | 0.00 yds a game0% targets3% snaps |
| Bo Melton | 110 yds3% targets12% snaps | 10 yds3% targets15% snaps | 10 yds2% targets32% snaps | 10 yds3% targets18% snaps | 420 yds13% targets49% snaps | 00 yds0% targets24% snaps | 24 yds5% targets19% snaps | 00 yds0% targets36% snaps | 00 yds0% targets23% snaps | 00 yds0% targets0% snaps | 1.03 yds a game • 3.4 per target3% targets23% snaps |
Each cell is targets that week, with receiving yards, share of team targets and snap percentage. Click a name to open that player.
Game log
Games10
PPR/G18.4
Game log
Watson avg 18.4NFL top 30 WRs avg 16.4
Solid dot is what he scored. Hollow dot is our projection before the game.
| Use | Game | Proj | PPR | Tgt | Rec | Rec Yd | Car | Rush Yd | TD | Snap |
|---|---|---|---|---|---|---|---|---|---|---|
| W1vs MIN | 10.5 | 32.7 | 8 | 6 | 147 | 0 | 0 | 2 | 76% | |
| W2vs NYJ | 11.8 | 14.1 | 11 | 4 | 41 | 0 | 0 | 1 | 90% | |
| W3vs ATL | 14.5 | 22.6 | 10 | 7 | 96 | 0 | 0 | 1 | 80% | |
| W4vs TB | 12.8 | 7.7 | 3 | 3 | 47 | 0 | 0 | 0 | 68% | |
| W5vs CHI | 13.0 | 32.3 | 8 | 6 | 143 | 0 | 0 | 2 | 80% | |
| W6vs DAL | 15.5 | 9.4 | 8 | 3 | 64 | 0 | 0 | 0 | 88% | |
| W7vs DET | 15.0 | 10.7 | 8 | 5 | 57 | 0 | 0 | 0 | 81% | |
| W8vs CAR | 13.9 | 17.3 | 10 | 8 | 113 | 0 | 0 | 0 | 49% | |
| W9vs NE | 12.8 | 30.1 | 8 | 7 | 171 | 0 | 0 | 1 | 77% | |
| W10vs MIN | 14.2 | 6.7 | 5 | 3 | 37 | 0 | 0 | 0 | 85% |
Opponent color:Easy defense for WRsAverageTough
Schedule ahead
11 bye12 LA13 NO14 BUF15 MIA16 CHI17 HOU18 DET
Green easier, red tougher
Schedule ahead
Colored by what each defense has given up to WRs so far. Green is an easier matchup, red is a tougher one.
Wk 11 byeWk 12 LAWk 13 NOWk 14 BUFWk 15 MIAWk 16 CHIWk 17 HOUWk 18 DETSee every team's WR schedule ›
StatPer gameSeasonRank
Overall
Games—1099›
PPR points18.4183.695›
Touchdowns0.7795›
Receiving
Targets7.97988›
Catches5.25287›
Receiving yards91.691697›
Receiving TDs—799›
Yards per target11.6—92›
Rushing
Scrimmage yards91.691697›
Usage
Snap %77%—74›
Target share %22.5%—81›
Touch share %13.8%—86›
Air yards share %32.3%111776›
Scoring chances
Red-zone targets0.7761›
End-zone targets1.11197›
Tap any stat to see everyone ranked. Bars: green top 30%, yellow middle, red bottom 40%.
Advanced stats
Ranked against 64 WRs with at least 35 targets. Ranks account for how much work each number is based on, so a perfect record on a few plays does not beat one over a full workload. Tap a stat to see the full ranking.
Fumbles lostOne
1 this season
Mania breakdown
Fantasy Production95
Target Volume86
Team Target Role80
Red-Zone Threat77
Per-Target Efficiency89
Mania breakdown
Percentile among WRs. 100 is the best, 50 is average.
How many fantasy points and total yards he is actually producing, compared with players at his position. Ranks better than 95% of WRs.
How often he is targeted: targets per game, receptions and his share of the team targets. Ranks better than 86% of WRs.
How big a slice of his team passing game belongs to him: target share, air-yard share and snaps. Ranks better than 80% of WRs.
How often the offense uses him near the goal line: red-zone targets and end-zone targets. Ranks better than 77% of WRs.
What he produces with each chance instead of just rewarding volume: yards per target, catch rate and fantasy points per opportunity. Ranks better than 89% of WRs.
Top 30%MiddleBottom 40%Tap a category to see what it means.
Usage
Snaps
77%
Target share
23%
Targets/G
7.9
PPR/G
18.4
By the numbers
PPR / Game
18.4
95th percentileWR avg 8.4
Targets / Game
7.9
88th percentileWR avg 4.9
Receiving Yards / Game
91.6
97th percentileWR avg 39.4
Receptions / Game
5.2
87th percentileWR avg 3
Share of Team Targets
22.5%
81st percentileWR avg 15.6%
Share of Team Air Yards
32.3%
77th percentileWR avg 22.2%
Red-Zone Targets / Game
0.7
61st percentileWR avg 0.7
End-Zone Targets / Game
1.1
97th percentileWR avg 0.4
Snap Share
77.4%
74th percentileWR avg 63.2%
TDs / Game
0.7
95th percentileWR avg 0.2