
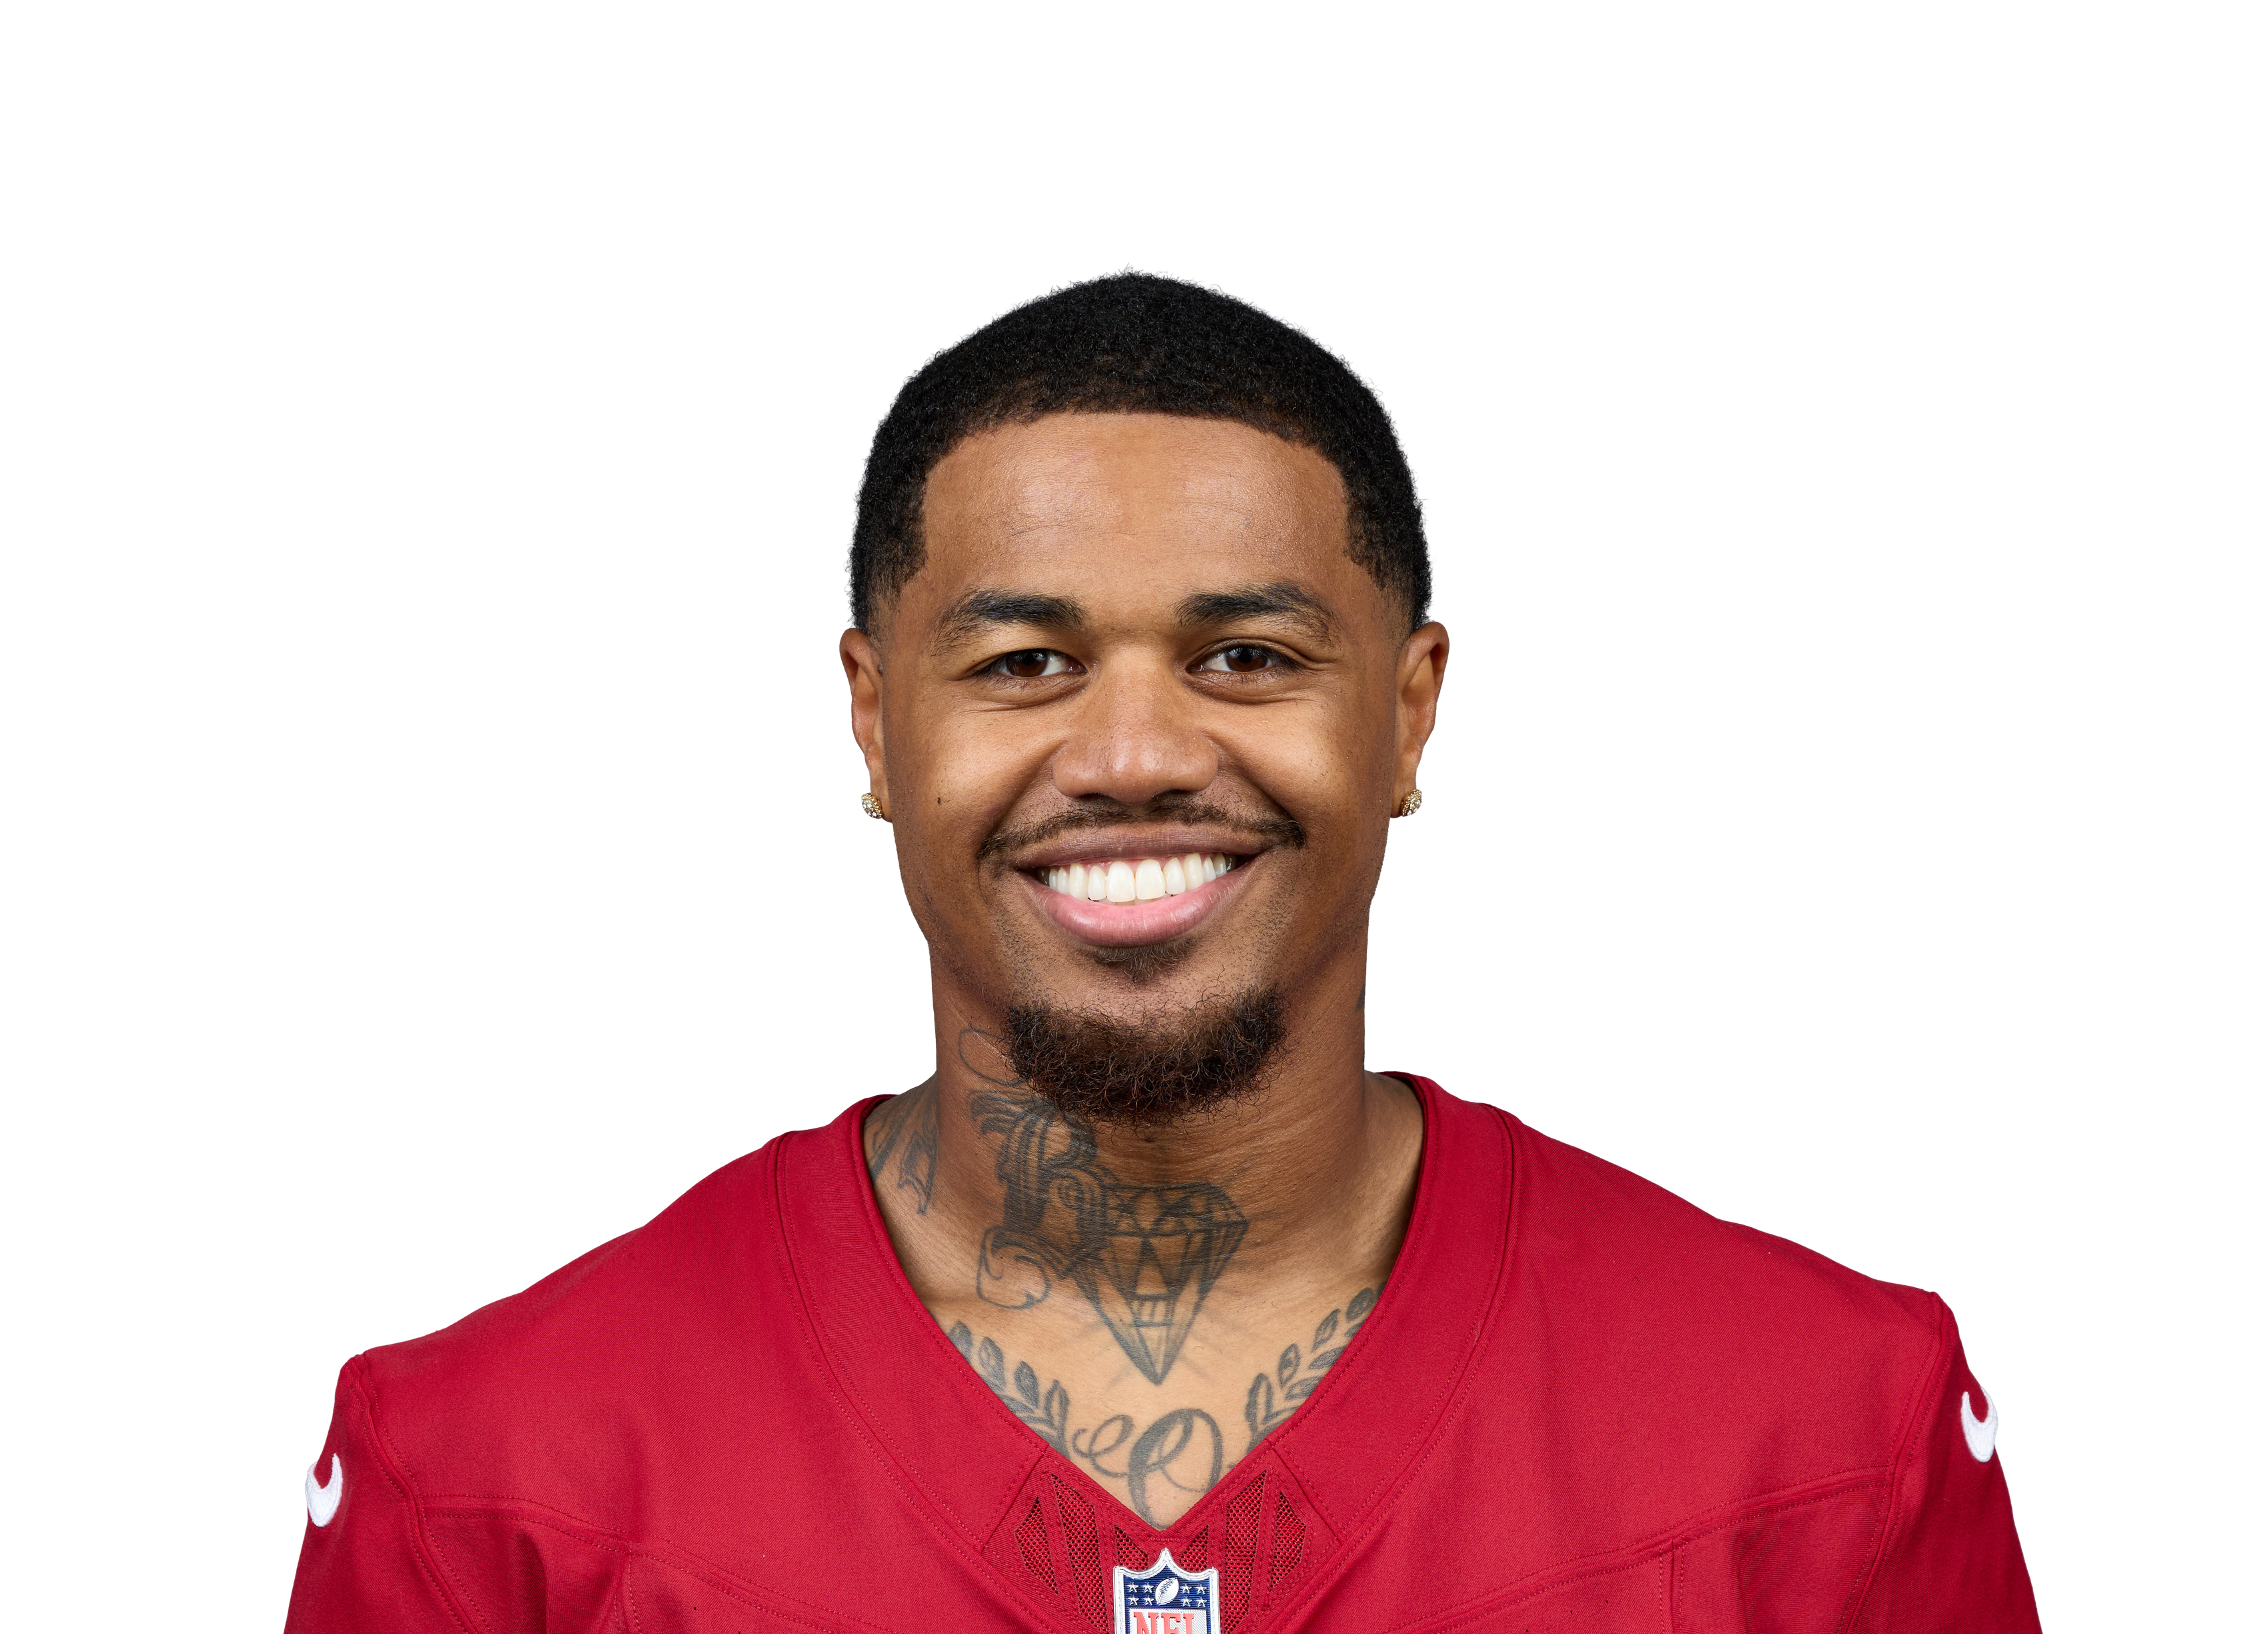
Kendrick Bourne
Pick a teammate with or without. Pick more than one to combine them, like a game without the QB and without the other back.
Injured reserve • no Week 11 Rating1 teammate note ▾

24.8 PPR points a game allowed to wide receivers, 31st most of 32 defenses.
| Player | PPR | Tgt | Rec | Rec Yd | Rec TD | Rush Yd |
|---|---|---|---|---|---|---|
 Jaxon Smith-Njigba@ SEA • Wk 7 | 31.3 | 12 | 9 | 150 | 1 | 13 |
 Drake London@ ATL • Wk 10 | 16.9 | 12 | 6 | 109 | 0 | 0 |
 Jaylen Waddle@ DEN • Wk 8 | 14.9 | 6 | 3 | 39 | 1 | 0 |
 Josh Downsvs IND • Wk 2 | 14.2 | 9 | 7 | 72 | 0 | 0 |
 Omar Cooper Jr.vs NYJ • Wk 9 | 13.8 | 11 | 8 | 58 | 0 | 0 |
 Malik Washington@ MIA • Wk 3 | 11.1 | 10 | 5 | 56 | 0 | 5 |
 Chris Bell@ MIA • Wk 3 | 10.7 | 7 | 4 | 67 | 0 | 0 |
 Courtland Sutton@ DEN • Wk 8 | 9.3 | 4 | 4 | 53 | 0 | 0 |
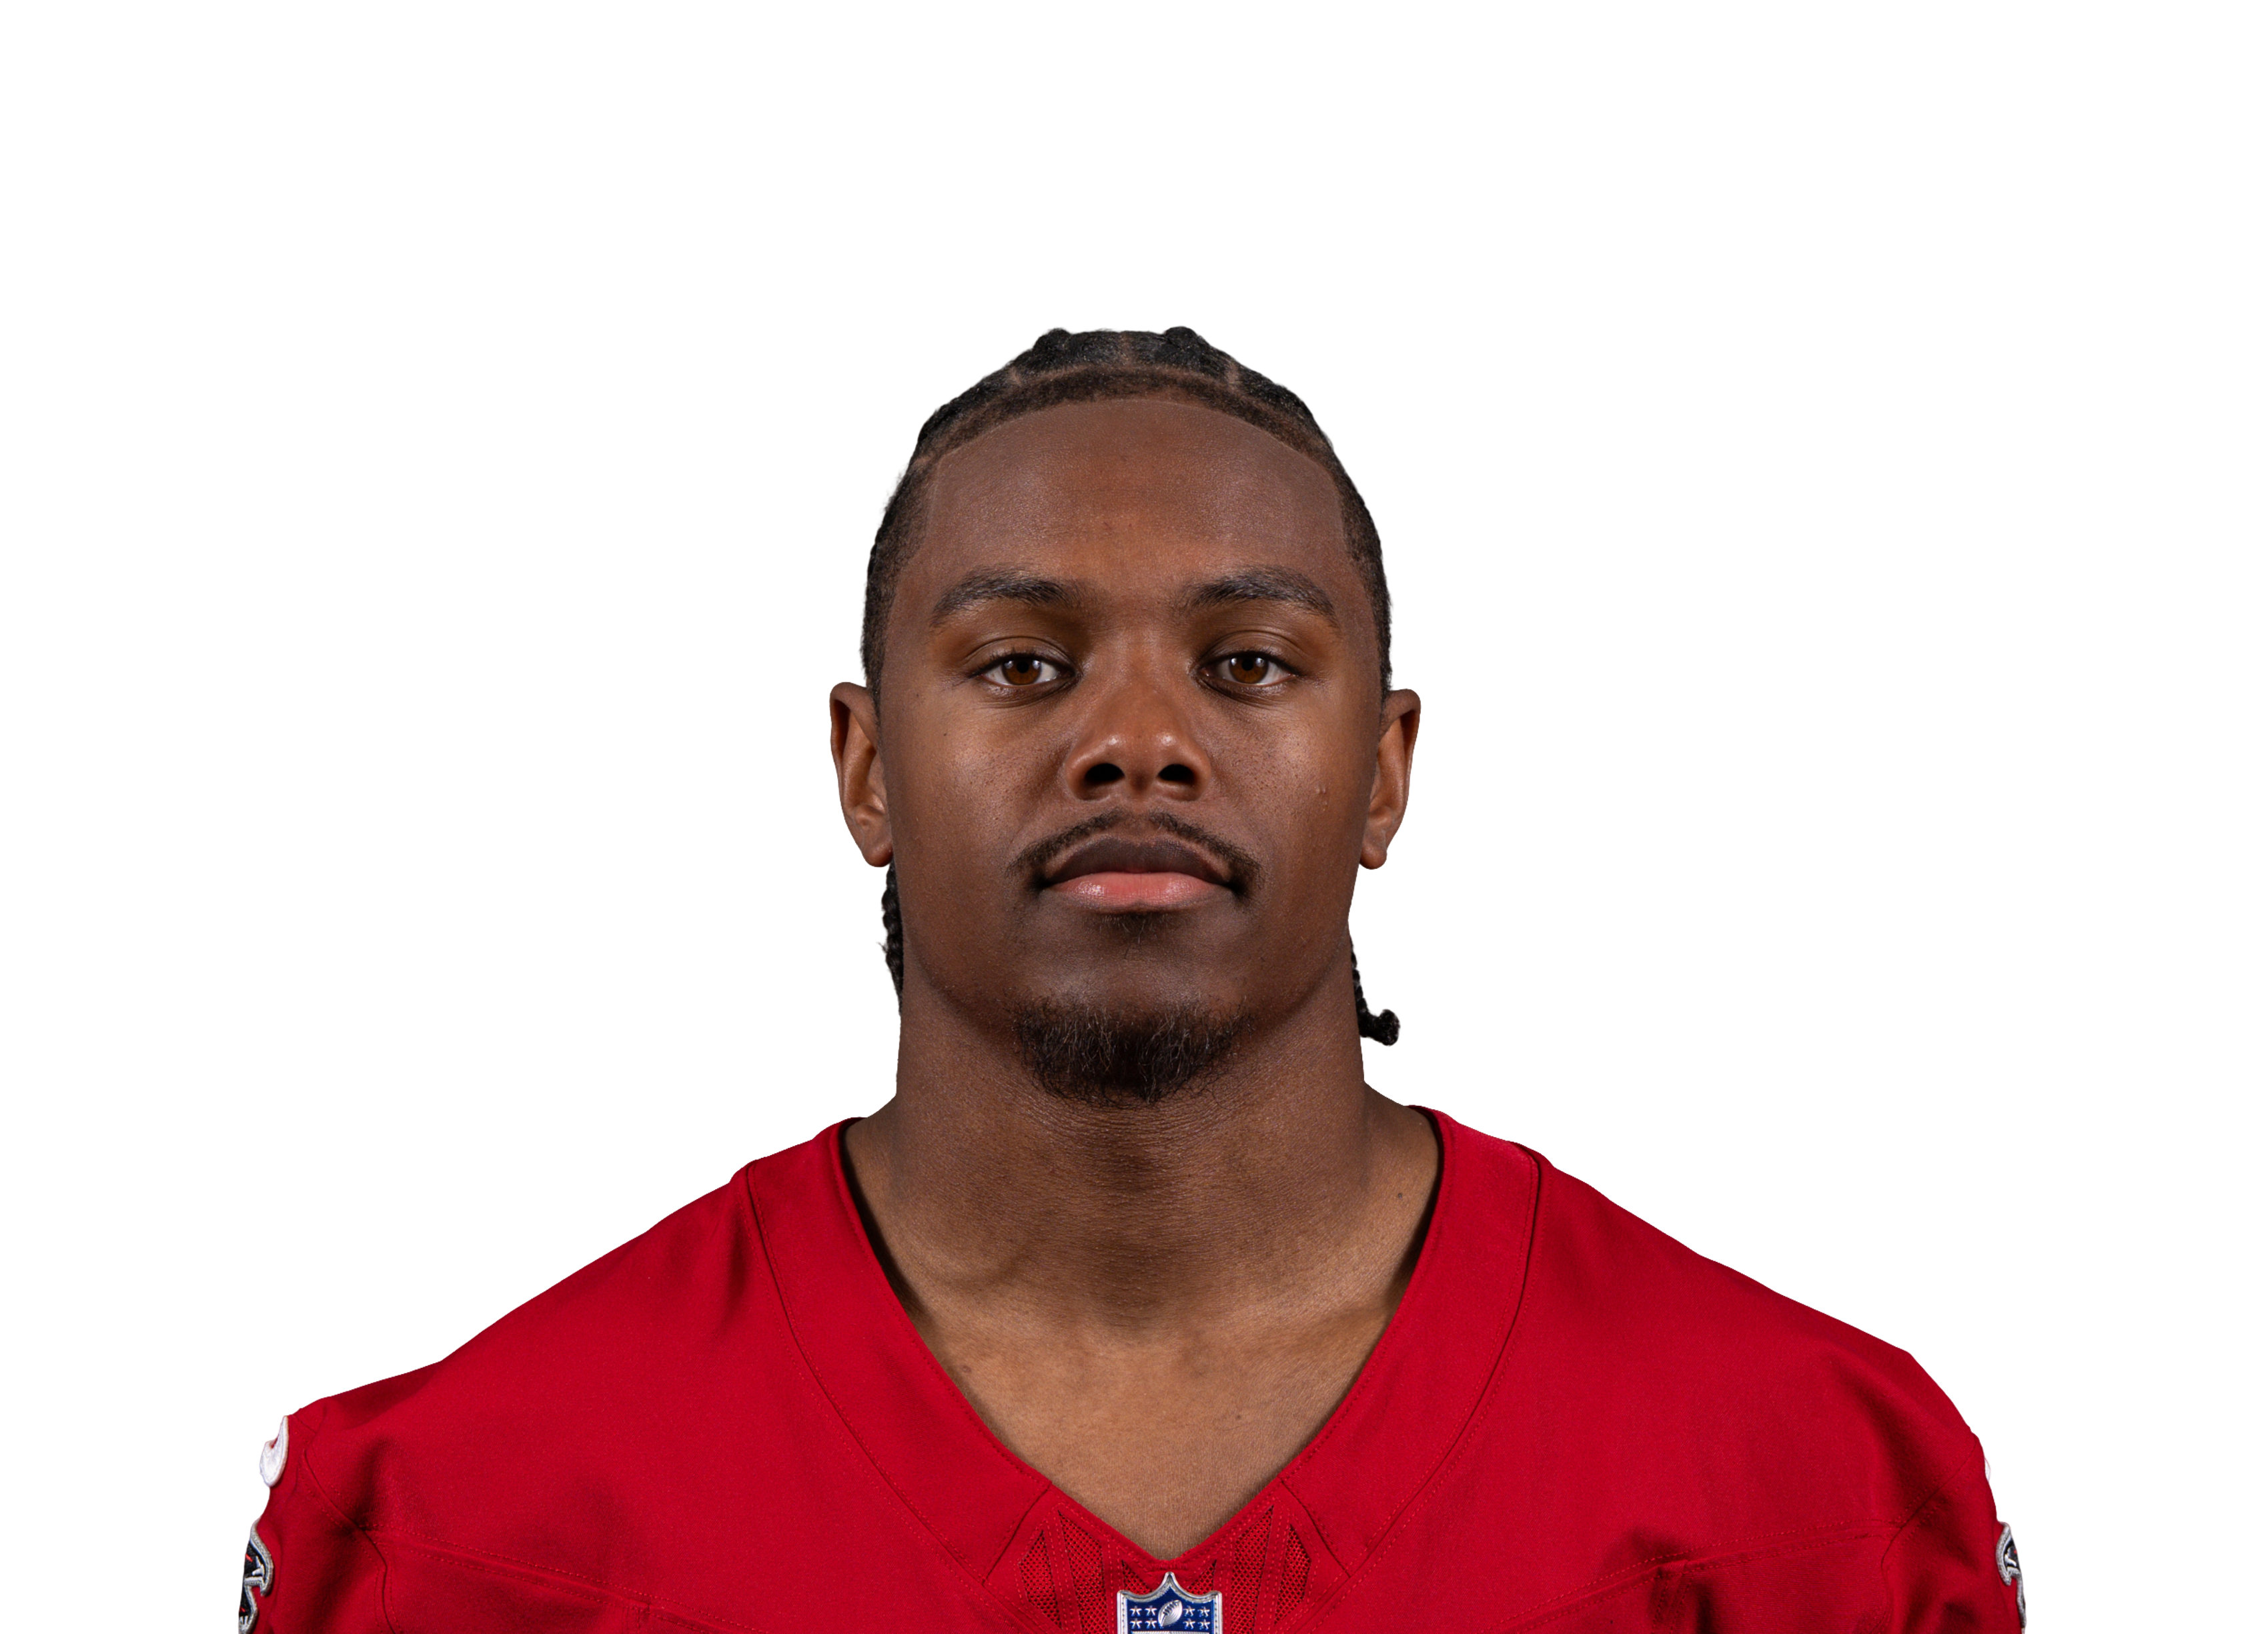 Jahan Dotson@ ATL • Wk 10 | 9.3 | 6 | 3 | 63 | 0 | 0 |
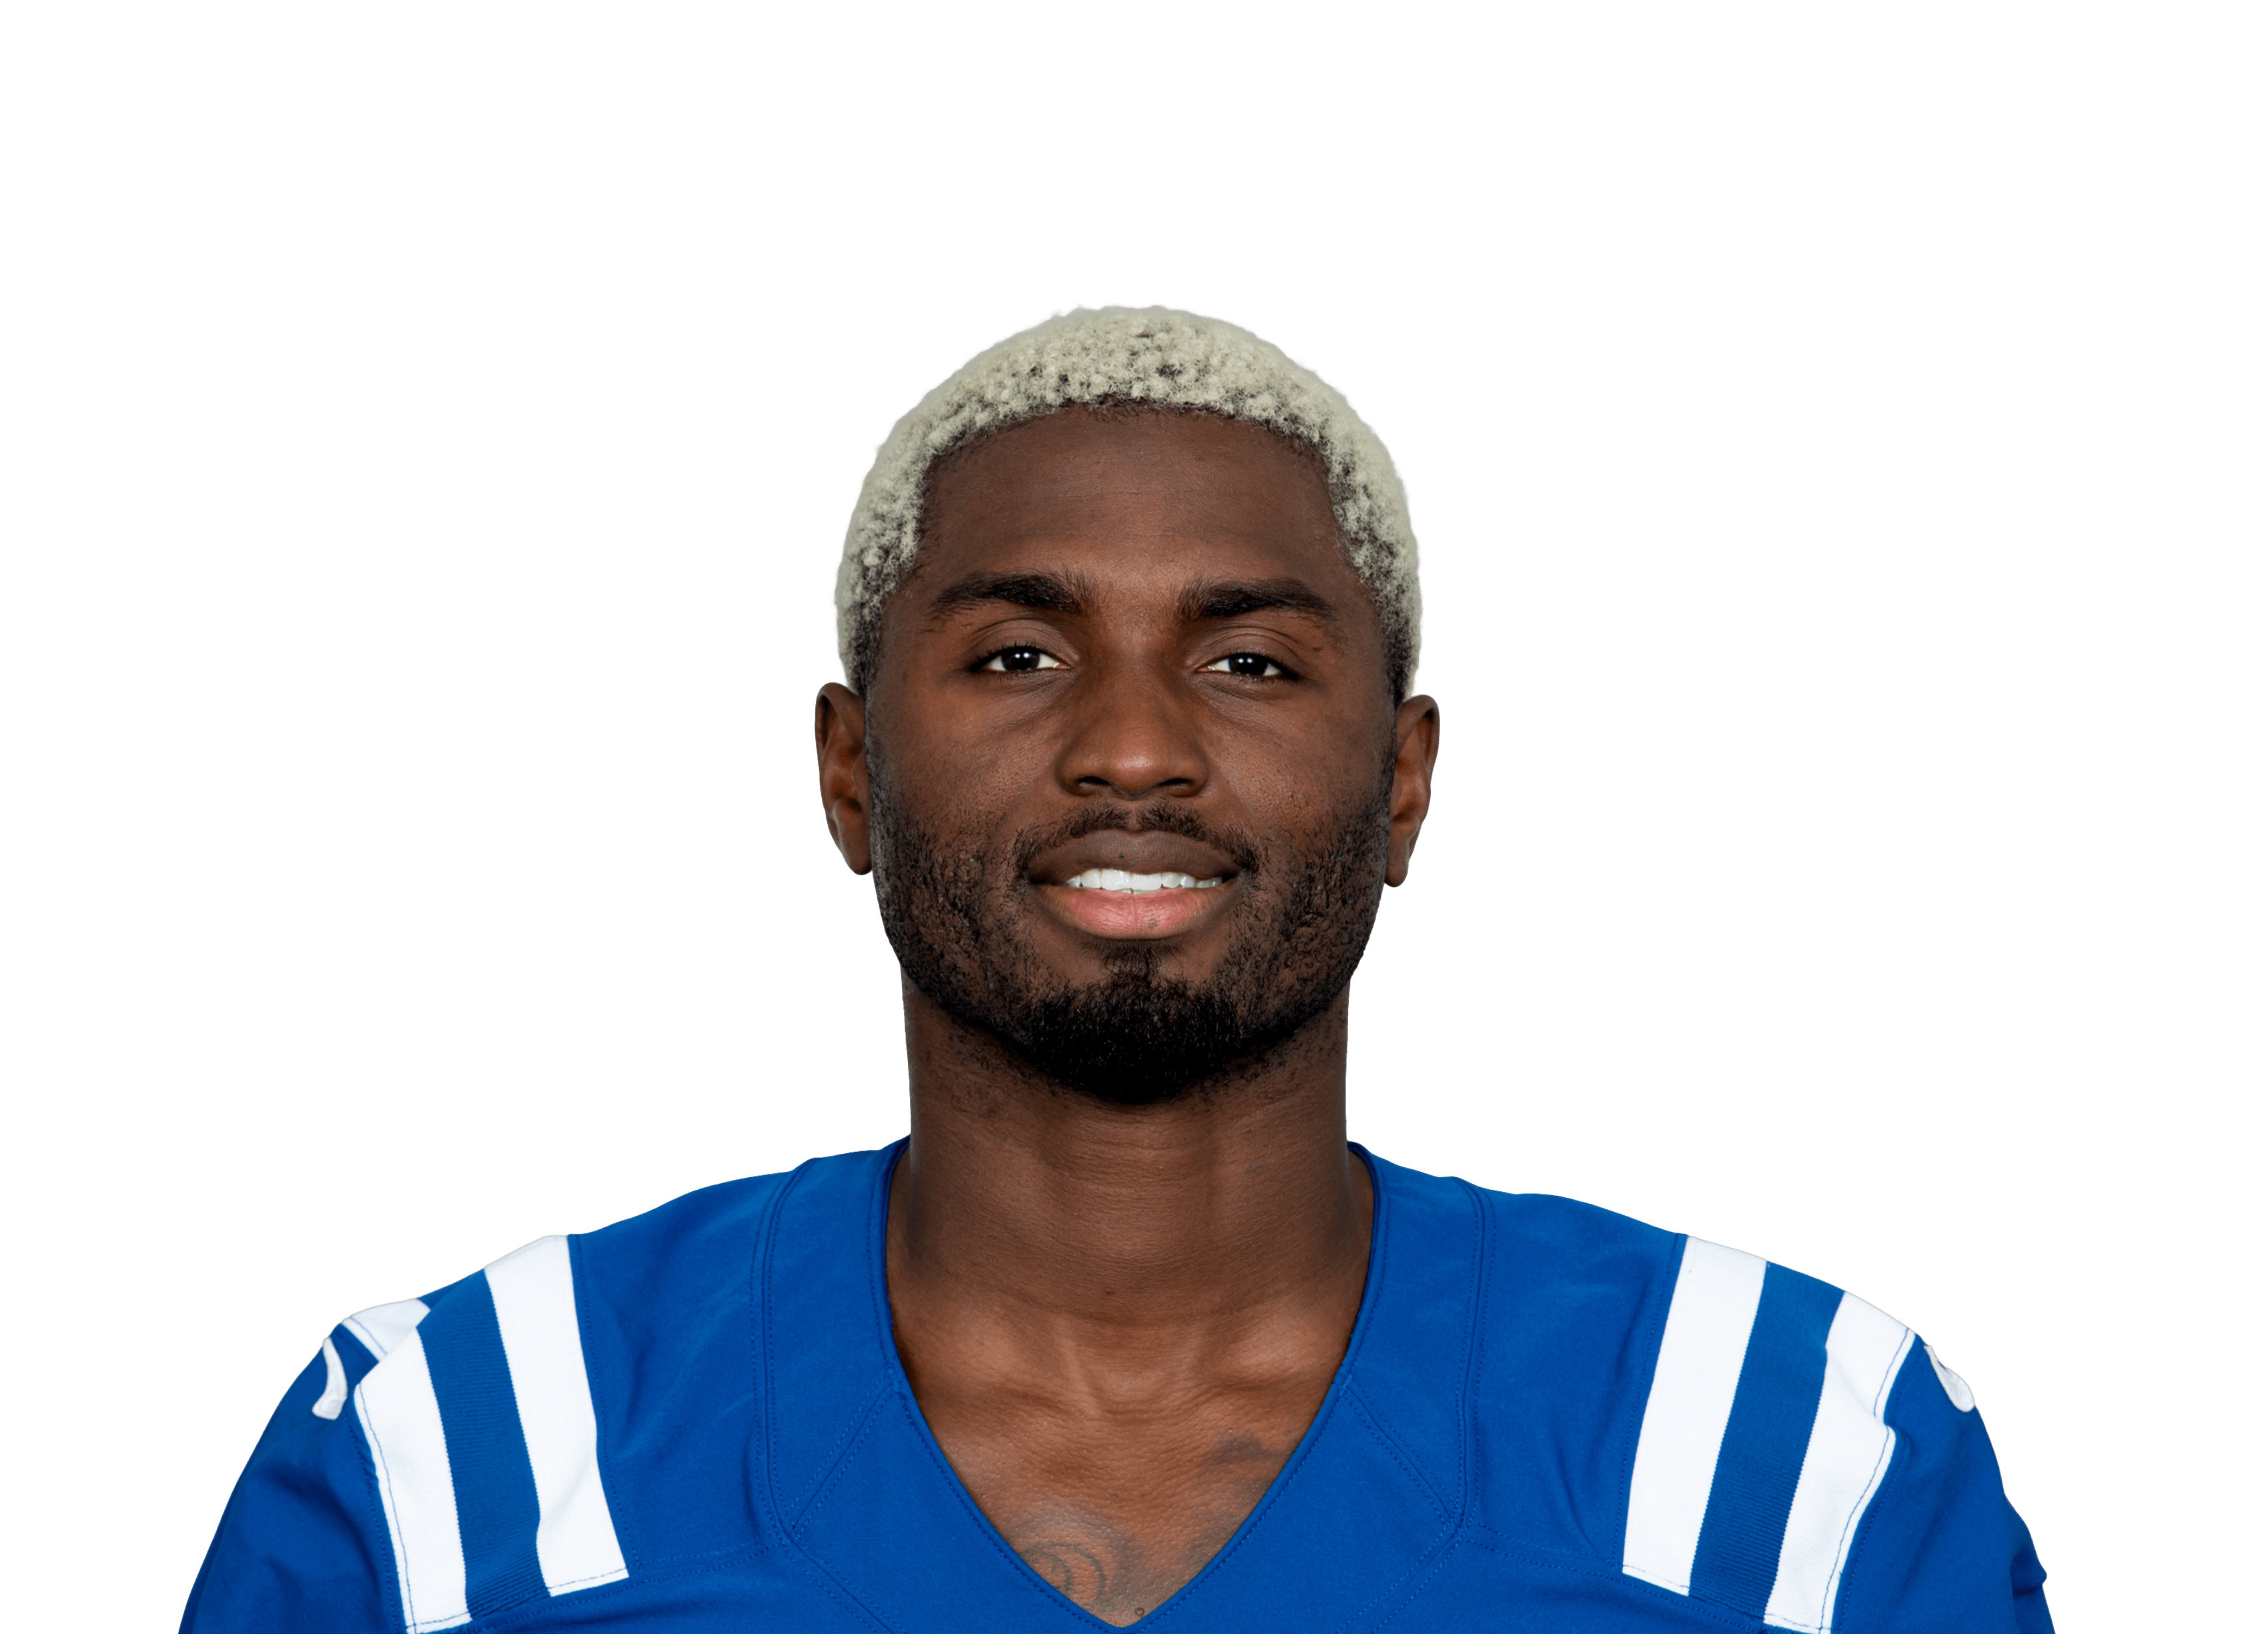 Laquon Treadwellvs IND • Wk 2 | 9.1 | 3 | 3 | 61 | 0 | 0 |
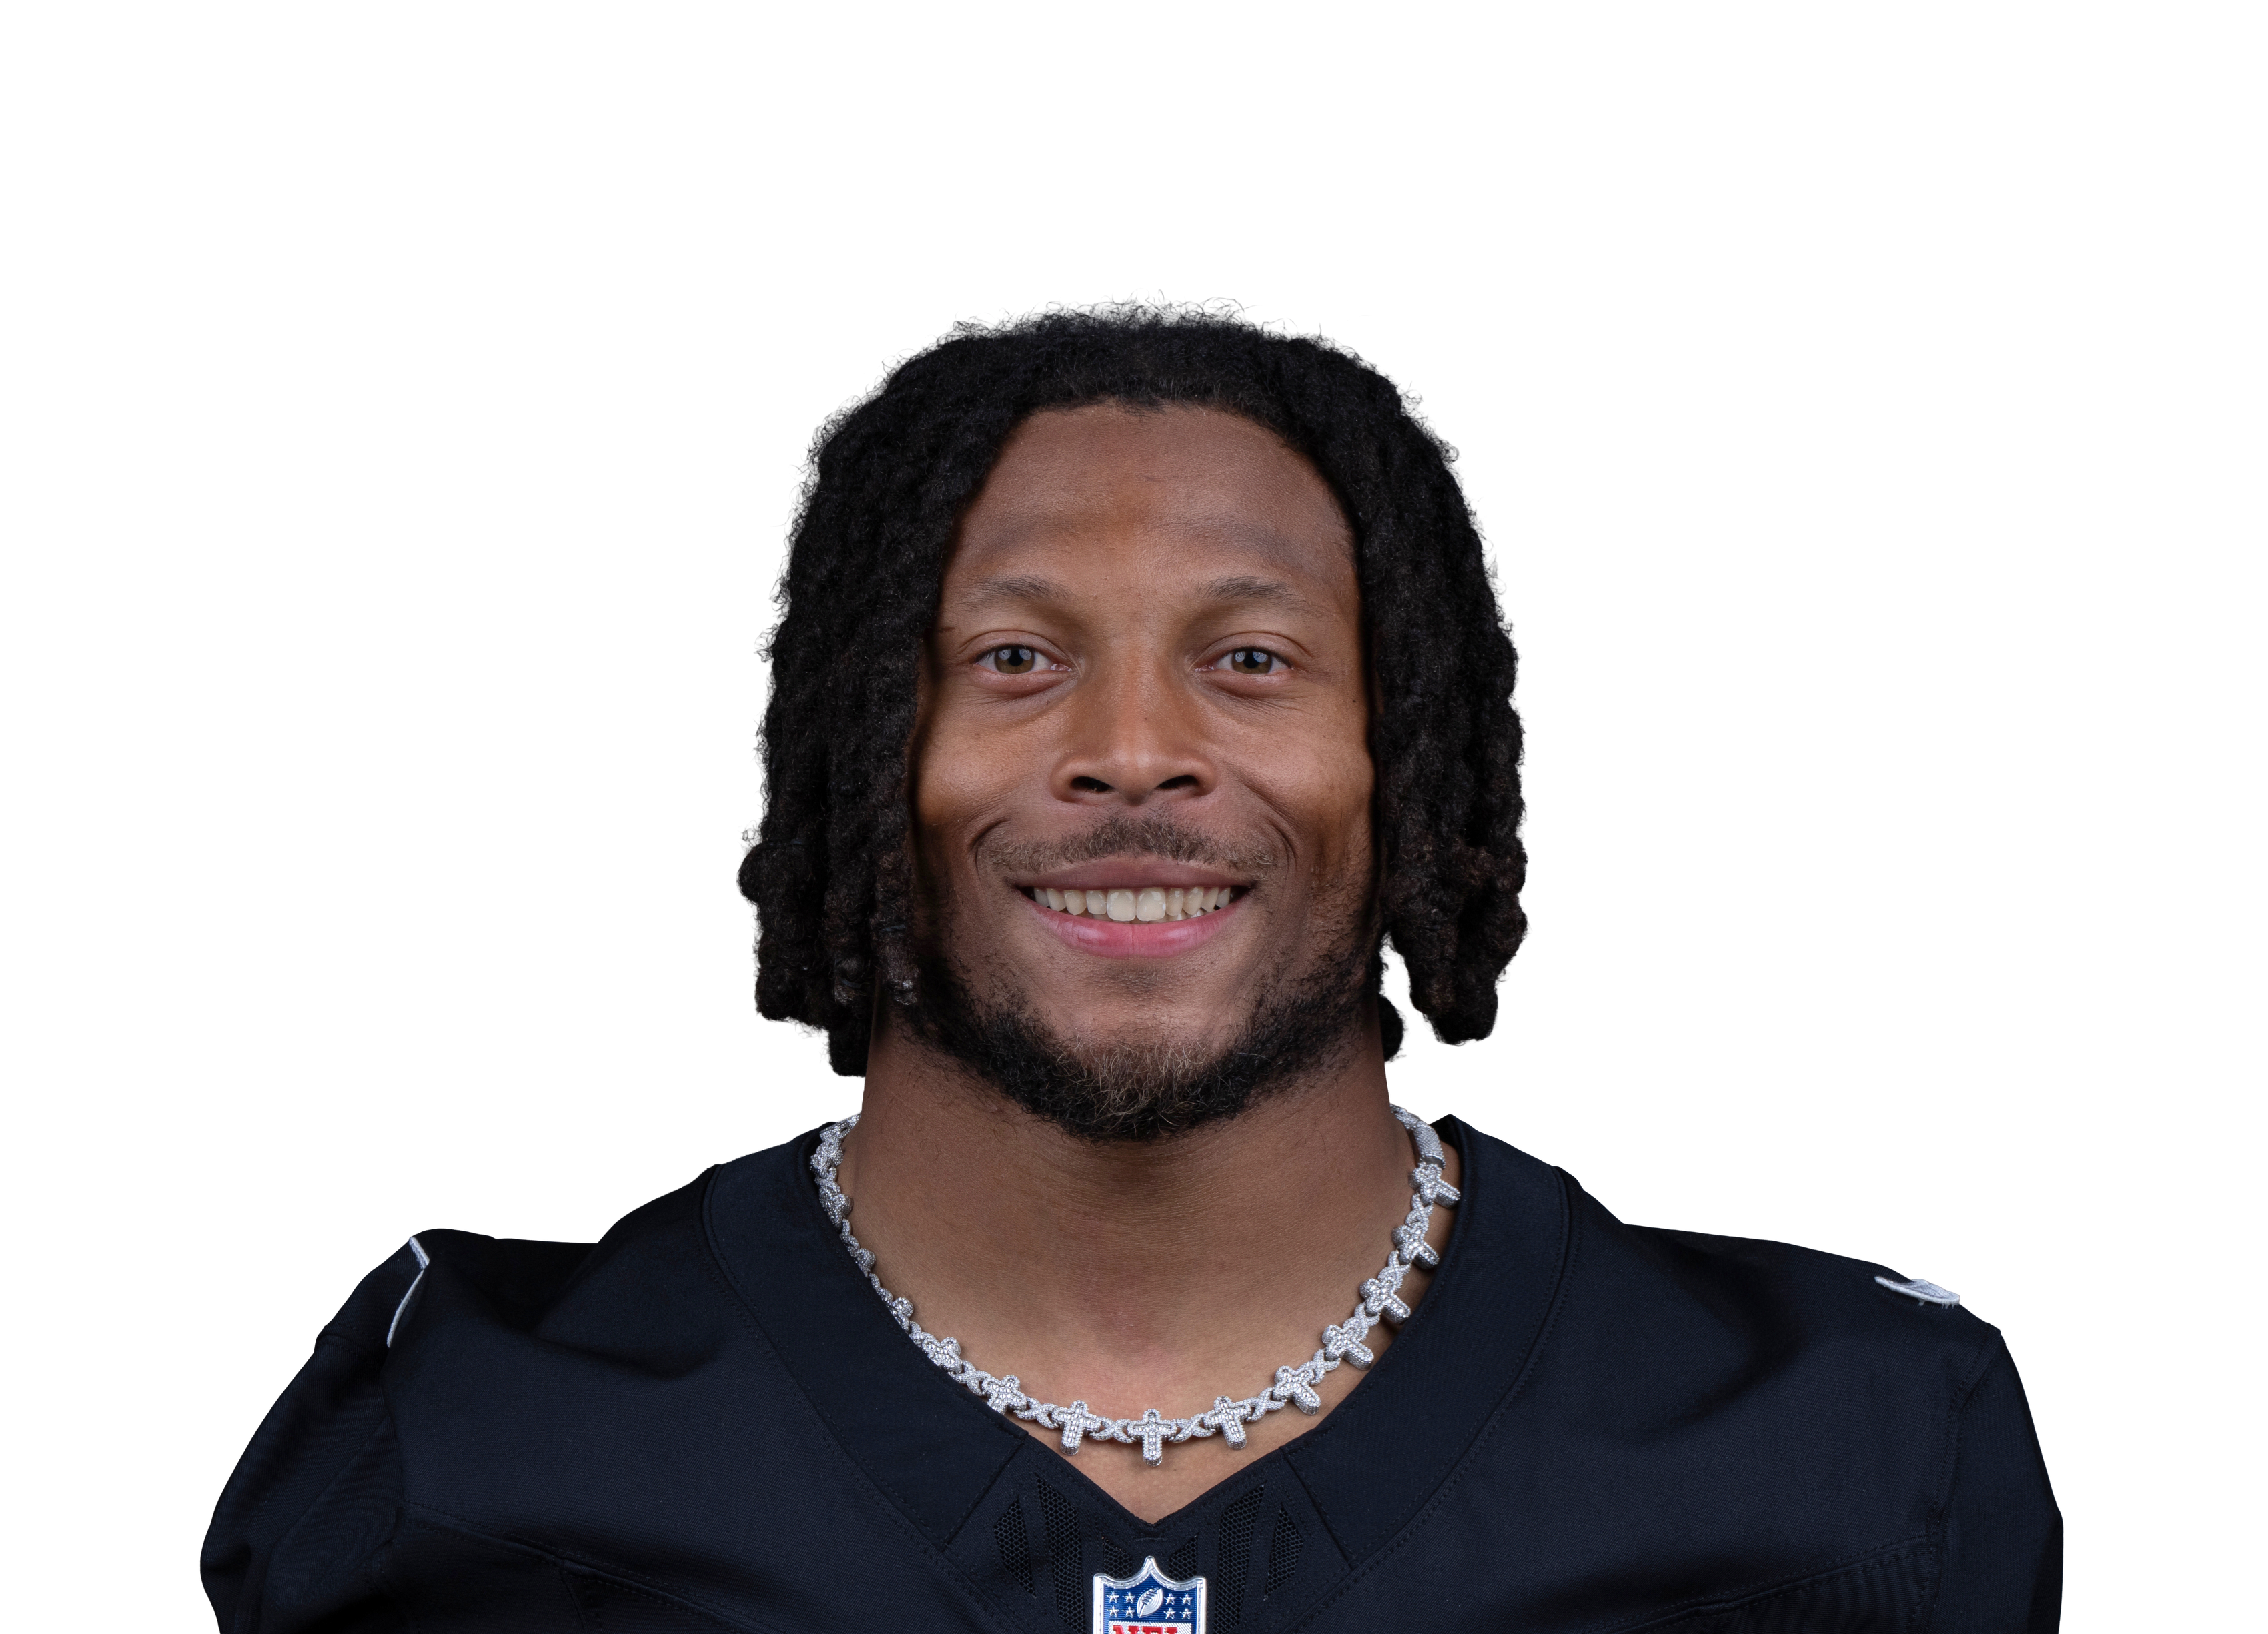 Tre Tucker@ LV • Wk 4 | 8.4 | 8 | 4 | 44 | 0 | 0 |
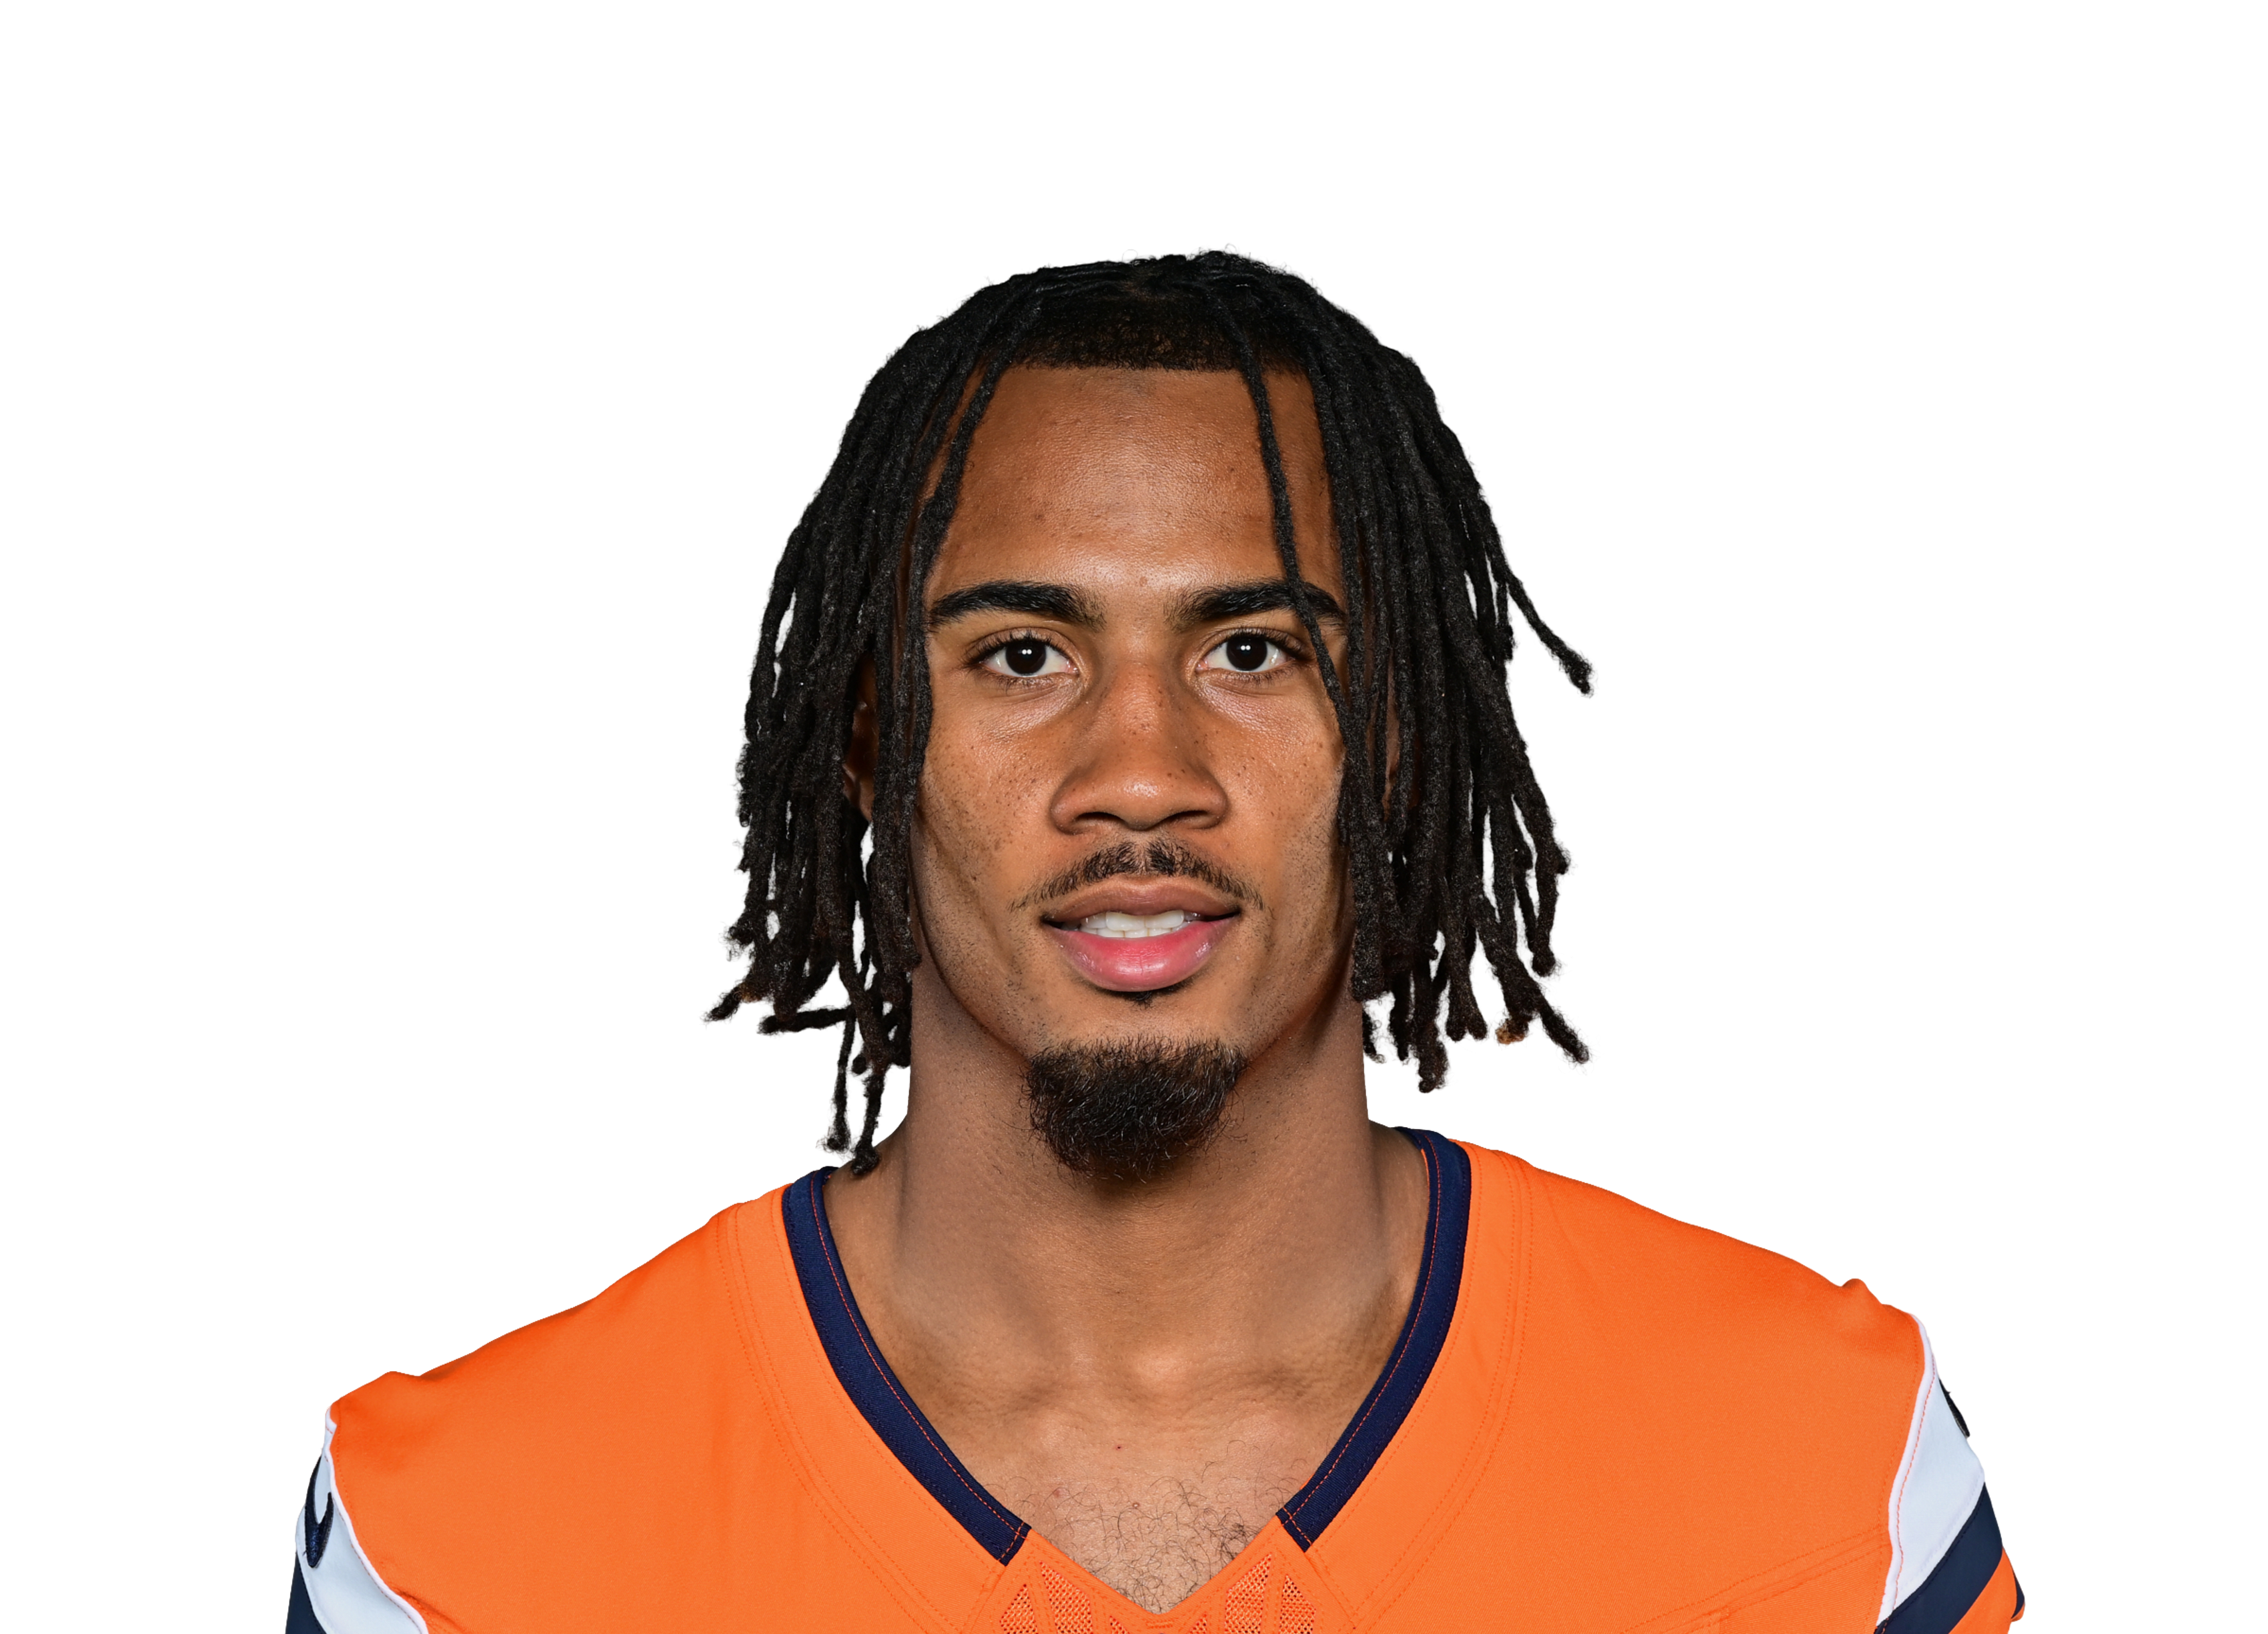 Pat Bryantvs DEN • Wk 1 | 8.2 | 6 | 4 | 42 | 0 | 0 |
 Cody White@ LV • Wk 4 | 7.6 | 4 | 2 | 36 | 0 | 0 |
 Quentin Johnstonvs LAC • Wk 6 | 6.7 | 3 | 1 | 57 | 0 | 0 |
 KeAndre Lambert-Smithvs LAC • Wk 6 | 6.2 | 9 | 5 | 32 | 0 | 0 |
 Marvin Mims Jr.@ DEN • Wk 8 | 4.9 | 3 | 2 | 10 | 0 | 19 |
 Theo Wease Jr.vs LAC • Wk 6 | 4.1 | 3 | 2 | 21 | 0 | 0 |
 Cooper Kupp@ SEA • Wk 7 | 4.0 | 2 | 2 | 20 | 0 | 0 |
 Olamide Zaccheaus@ ATL • Wk 10 | 3.7 | 4 | 2 | 17 | 0 | 0 |
 Chris Blair@ ATL • Wk 10 | 3.6 | 4 | 1 | 26 | 0 | 0 |
 Ryan Miller@ MIA • Wk 3 | 3.5 | 3 | 2 | 15 | 0 | 0 |
| Courtland Suttonvs DEN • Wk 1 | 3.1 | 5 | 2 | 11 | 0 | 0 |
 Ladd McConkeyvs LAC • Wk 6 | 2.7 | 1 | 1 | 17 | 0 | 0 |
 Alec Piercevs IND • Wk 2 | 2.1 | 1 | 1 | 11 | 0 | 0 |
 Rashid Shaheed@ SEA • Wk 7 | 2.1 | 3 | 2 | 1 | 0 | 0 |
 Lil'Jordan Humphrey@ DEN • Wk 8 | 2.0 | 1 | 1 | 10 | 0 | 0 |
 Dareke Young@ LV • Wk 4 | 1.9 | 2 | 1 | 9 | 0 | 0 |
 Keenan Allenvs IND • Wk 2 | 1.5 | 5 | 1 | 5 | 0 | 0 |
 Deion Burksvs IND • Wk 2 | 1.4 | 0 | 0 | 0 | 0 | 14 |
 Kevin Coleman Jr.@ MIA • Wk 3 | 1.3 | 4 | 1 | 3 | 0 | 0 |
 Troy Franklin@ DEN • Wk 8 | 1.3 | 2 | 1 | 3 | 0 | 0 |
| Jaylen Waddlevs DEN • Wk 1 | 1.2 | 3 | 1 | 2 | 0 | 0 |
| Troy Franklinvs DEN • Wk 1 | 0.5 | 1 | 0 | 0 | 0 | 5 |
 Derius Davisvs LAC • Wk 6 | 0.4 | 0 | 0 | 0 | 0 | 4 |
 Isaiah Williamsvs NYJ • Wk 9 | 0.4 | 0 | 0 | 0 | 0 | 4 |
 Tory Horton@ SEA • Wk 7 | 0.0 | 1 | 0 | 0 | 0 | 0 |
 Adonai Mitchellvs NYJ • Wk 9 | 0.0 | 7 | 0 | 0 | 0 | 0 |
 Beaux Collins@ ATL • Wk 10 | 0.0 | 2 | 0 | 0 | 0 | 0 |
Fantasy points first, then the stats that matter for his position. Ring around each photo is that player's Mania Rating. Tap a name to open his profile.
| Player | W1 | W2 | W3 | W4 | W5 | W6 | W7 | W8 | W9 | W10 | Per game |
|---|---|---|---|---|---|---|---|---|---|---|---|
| Michael Wilson | 756 yds19% targets85% snaps | 718 yds27% targets94% snaps | 1789 yds34% targets93% snaps | 1395 yds37% targets94% snaps | 730 yds15% targets84% snaps | 732 yds21% targets92% snaps | 855 yds18% targets90% snaps | 15111 yds37% targets79% snaps | 760 yds24% targets83% snaps | — | 9.861 yds a game • 6.2 per target26% targets88% snaps |
| Kendrick Bourne | 875 yds22% targets67% snaps | 311 yds12% targets60% snaps | 322 yds6% targets55% snaps | — | 870 yds17% targets49% snaps | 847 yds24% targets57% snaps | 69 yds14% targets56% snaps | 229 yds5% targets31% snaps | — | — | 5.438 yds a game • 6.9 per target14% targets54% snaps |
| Reggie Virgil | — | — | — | — | 529 yds11% targets18% snaps | — | — | 20 yds5% targets47% snaps | 425 yds14% targets34% snaps | — | 3.718 yds a game • 4.9 per target10% targets33% snaps |
| Jalen Brooks | — | 00 yds0% targets4% snaps | 10 yds2% targets5% snaps | 00 yds0% targets5% snaps | 716 yds15% targets53% snaps | 330 yds9% targets53% snaps | 635 yds14% targets64% snaps | — | — | — | 2.814 yds a game • 4.8 per target7% targets31% snaps |
| Harrison Wallace III | — | — | — | — | — | — | — | — | — | 19 yds6% targets14% snaps | 1.09 yds a game • 9.0 per target6% targets14% snaps |
| Zay Jones | — | — | — | — | — | — | — | — | — | 10 yds6% targets20% snaps | 1.00 yds a game • 0.0 per target6% targets20% snaps |
| Simi Fehoko | 00 yds0% targets8% snaps | — | 00 yds0% targets0% snaps | 00 yds0% targets0% snaps | 00 yds0% targets4% snaps | 00 yds0% targets8% snaps | — | 117 yds2% targets49% snaps | 10 yds3% targets49% snaps | 221 yds11% targets74% snaps | 0.55 yds a game • 9.5 per target2% targets24% snaps |
| Devin Duvernay | 00 yds0% targets0% snaps | 00 yds0% targets0% snaps | 00 yds0% targets0% snaps | 00 yds0% targets0% snaps | 00 yds0% targets0% snaps | 00 yds0% targets0% snaps | 00 yds0% targets0% snaps | 214 yds5% targets42% snaps | 28 yds7% targets45% snaps | 335 yds17% targets29% snaps | 0.76 yds a game • 8.1 per target3% targets12% snaps |
| Use | Game | Proj | PPR | Tgt | Rec | Rec Yd | Car | Rush Yd | TD | Snap |
|---|---|---|---|---|---|---|---|---|---|---|
W1 vs LAC | 7.5 | 15.5 | 8 | 8 | 75 | 0 | 0 | 0 | 67% | |
W2 vs SEA | 8.5 | 3.1 | 3 | 2 | 11 | 0 | 0 | 0 | 60% | |
W3 vs SF | 8.3 | 4.2 | 3 | 2 | 22 | 0 | 0 | 0 | 55% | |
W5 vs DET | 8.6 | 12 | 8 | 5 | 70 | 0 | 0 | 0 | 49% | |
W6 vs LA | 8.0 | 9.7 | 8 | 5 | 47 | 0 | 0 | 0 | 57% | |
W7 vs DEN | 7.9 | 3.9 | 6 | 3 | 9 | 0 | 0 | 0 | 56% | |
W8 vs DAL | 8.5 | 3.9 | 2 | 1 | 29 | 0 | 0 | 0 | 31% |
Ranked against 64 WRs with at least 35 targets. He is still a small sample (38 targets), so his ranks lean toward average. Ranks account for how much work each number is based on, so a perfect record on a few plays does not beat one over a full workload. Tap a stat to see the full ranking.

Kendrick Bourne
Pick a teammate with or without. Pick more than one to combine them, like a game without the QB and without the other back.
Injured reserve • no Week 11 Rating1 teammate note ▾
| Player | W1 | W2 | W3 | W4 | W5 | W6 | W7 | W8 | W9 | W10 | Per game |
|---|---|---|---|---|---|---|---|---|---|---|---|
| Michael Wilson | 756 yds19% targets85% snaps | 718 yds27% targets94% snaps | 1789 yds34% targets93% snaps | 1395 yds37% targets94% snaps | 730 yds15% targets84% snaps | 732 yds21% targets92% snaps | 855 yds18% targets90% snaps | 15111 yds37% targets79% snaps | 760 yds24% targets83% snaps | — | 9.861 yds a game • 6.2 per target26% targets88% snaps |
| Kendrick Bourne | 875 yds22% targets67% snaps | 311 yds12% targets60% snaps | 322 yds6% targets55% snaps | — | 870 yds17% targets49% snaps | 847 yds24% targets57% snaps | 69 yds14% targets56% snaps | 229 yds5% targets31% snaps | — | — | 5.438 yds a game • 6.9 per target14% targets54% snaps |
| Reggie Virgil | — | — | — | — | 529 yds11% targets18% snaps | — | — | 20 yds5% targets47% snaps | 425 yds14% targets34% snaps | — | 3.718 yds a game • 4.9 per target10% targets33% snaps |
| Jalen Brooks | — | 00 yds0% targets4% snaps | 10 yds2% targets5% snaps | 00 yds0% targets5% snaps | 716 yds15% targets53% snaps | 330 yds9% targets53% snaps | 635 yds14% targets64% snaps | — | — | — | 2.814 yds a game • 4.8 per target7% targets31% snaps |
| Harrison Wallace III | — | — | — | — | — | — | — | — | — | 19 yds6% targets14% snaps | 1.09 yds a game • 9.0 per target6% targets14% snaps |
| Zay Jones | — | — | — | — | — | — | — | — | — | 10 yds6% targets20% snaps | 1.00 yds a game • 0.0 per target6% targets20% snaps |
| Simi Fehoko | 00 yds0% targets8% snaps | — | 00 yds0% targets0% snaps | 00 yds0% targets0% snaps | 00 yds0% targets4% snaps | 00 yds0% targets8% snaps | — | 117 yds2% targets49% snaps | 10 yds3% targets49% snaps | 221 yds11% targets74% snaps | 0.55 yds a game • 9.5 per target2% targets24% snaps |
| Devin Duvernay | 00 yds0% targets0% snaps | 00 yds0% targets0% snaps | 00 yds0% targets0% snaps | 00 yds0% targets0% snaps | 00 yds0% targets0% snaps | 00 yds0% targets0% snaps | 00 yds0% targets0% snaps | 214 yds5% targets42% snaps | 28 yds7% targets45% snaps | 335 yds17% targets29% snaps | 0.76 yds a game • 8.1 per target3% targets12% snaps |
| Use | Game | Proj | PPR | Tgt | Rec | Rec Yd | Car | Rush Yd | TD | Snap |
|---|---|---|---|---|---|---|---|---|---|---|
| W1vs LAC | 7.5 | 15.5 | 8 | 8 | 75 | 0 | 0 | 0 | 67% | |
| W2vs SEA | 8.5 | 3.1 | 3 | 2 | 11 | 0 | 0 | 0 | 60% | |
| W3vs SF | 8.3 | 4.2 | 3 | 2 | 22 | 0 | 0 | 0 | 55% | |
| W5vs DET | 8.6 | 12 | 8 | 5 | 70 | 0 | 0 | 0 | 49% | |
| W6vs LA | 8.0 | 9.7 | 8 | 5 | 47 | 0 | 0 | 0 | 57% | |
| W7vs DEN | 7.9 | 3.9 | 6 | 3 | 9 | 0 | 0 | 0 | 56% | |
| W8vs DAL | 8.5 | 3.9 | 2 | 1 | 29 | 0 | 0 | 0 | 31% |
Ranked against 64 WRs with at least 35 targets. He is still a small sample (38 targets), so his ranks lean toward average. Ranks account for how much work each number is based on, so a perfect record on a few plays does not beat one over a full workload. Tap a stat to see the full ranking.
24.8 PPR points a game allowed to wide receivers, 31st most of 32 defenses.
| Player | PPR | Tgt | Rec | Rec Yd | Rec TD | Rush Yd |
|---|---|---|---|---|---|---|
| Jaxon Smith-Njigba@ SEA • Wk 7 | 31.3 | 12 | 9 | 150 | 1 | 13 |
| Drake London@ ATL • Wk 10 | 16.9 | 12 | 6 | 109 | 0 | 0 |
| Jaylen Waddle@ DEN • Wk 8 | 14.9 | 6 | 3 | 39 | 1 | 0 |
| Josh Downsvs IND • Wk 2 | 14.2 | 9 | 7 | 72 | 0 | 0 |
| Omar Cooper Jr.vs NYJ • Wk 9 | 13.8 | 11 | 8 | 58 | 0 | 0 |
| Malik Washington@ MIA • Wk 3 | 11.1 | 10 | 5 | 56 | 0 | 5 |
| Chris Bell@ MIA • Wk 3 | 10.7 | 7 | 4 | 67 | 0 | 0 |
| Courtland Sutton@ DEN • Wk 8 | 9.3 | 4 | 4 | 53 | 0 | 0 |
| Jahan Dotson@ ATL • Wk 10 | 9.3 | 6 | 3 | 63 | 0 | 0 |
| Laquon Treadwellvs IND • Wk 2 | 9.1 | 3 | 3 | 61 | 0 | 0 |
| Tre Tucker@ LV • Wk 4 | 8.4 | 8 | 4 | 44 | 0 | 0 |
| Pat Bryantvs DEN • Wk 1 | 8.2 | 6 | 4 | 42 | 0 | 0 |
| Cody White@ LV • Wk 4 | 7.6 | 4 | 2 | 36 | 0 | 0 |
| Quentin Johnstonvs LAC • Wk 6 | 6.7 | 3 | 1 | 57 | 0 | 0 |
| KeAndre Lambert-Smithvs LAC • Wk 6 | 6.2 | 9 | 5 | 32 | 0 | 0 |
| Marvin Mims Jr.@ DEN • Wk 8 | 4.9 | 3 | 2 | 10 | 0 | 19 |
| Theo Wease Jr.vs LAC • Wk 6 | 4.1 | 3 | 2 | 21 | 0 | 0 |
| Cooper Kupp@ SEA • Wk 7 | 4.0 | 2 | 2 | 20 | 0 | 0 |
| Olamide Zaccheaus@ ATL • Wk 10 | 3.7 | 4 | 2 | 17 | 0 | 0 |
| Chris Blair@ ATL • Wk 10 | 3.6 | 4 | 1 | 26 | 0 | 0 |
| Ryan Miller@ MIA • Wk 3 | 3.5 | 3 | 2 | 15 | 0 | 0 |
| Courtland Suttonvs DEN • Wk 1 | 3.1 | 5 | 2 | 11 | 0 | 0 |
| Ladd McConkeyvs LAC • Wk 6 | 2.7 | 1 | 1 | 17 | 0 | 0 |
| Alec Piercevs IND • Wk 2 | 2.1 | 1 | 1 | 11 | 0 | 0 |
| Rashid Shaheed@ SEA • Wk 7 | 2.1 | 3 | 2 | 1 | 0 | 0 |
| Lil'Jordan Humphrey@ DEN • Wk 8 | 2.0 | 1 | 1 | 10 | 0 | 0 |
| Dareke Young@ LV • Wk 4 | 1.9 | 2 | 1 | 9 | 0 | 0 |
| Keenan Allenvs IND • Wk 2 | 1.5 | 5 | 1 | 5 | 0 | 0 |
| Deion Burksvs IND • Wk 2 | 1.4 | 0 | 0 | 0 | 0 | 14 |
| Kevin Coleman Jr.@ MIA • Wk 3 | 1.3 | 4 | 1 | 3 | 0 | 0 |
| Troy Franklin@ DEN • Wk 8 | 1.3 | 2 | 1 | 3 | 0 | 0 |
| Jaylen Waddlevs DEN • Wk 1 | 1.2 | 3 | 1 | 2 | 0 | 0 |
| Troy Franklinvs DEN • Wk 1 | 0.5 | 1 | 0 | 0 | 0 | 5 |
| Derius Davisvs LAC • Wk 6 | 0.4 | 0 | 0 | 0 | 0 | 4 |
| Isaiah Williamsvs NYJ • Wk 9 | 0.4 | 0 | 0 | 0 | 0 | 4 |
| Tory Horton@ SEA • Wk 7 | 0.0 | 1 | 0 | 0 | 0 | 0 |
| Adonai Mitchellvs NYJ • Wk 9 | 0.0 | 7 | 0 | 0 | 0 | 0 |
| Beaux Collins@ ATL • Wk 10 | 0.0 | 2 | 0 | 0 | 0 | 0 |
Fantasy points first, then the stats that matter for his position. Ring around each photo is that player's Mania Rating. Tap a name to open his profile.